My 1929 Essex
10/3/15
First try at starting the engine. I used a 12 volt battery on the engine, and a 6 volt on the coil. The engine backfired through the carburetor which told me something was wrong with the timing. You can hear it below in the video.
10/4/15
It was decided that the engine was not firing on the compression stroke so I turned the distributor shaft 180 degrees and gave it another try.
As you can see, it started and I was quite happy! There is a lot of smoke coming from the side covers and I was told that it may be from over-filling the oil troughs. Only time will tell. I have several oil leaks that I will need to fix also. All in all, it was a big day!
10/24
I discovered that the front leak was possibly caused by the timing cover not being tight enough. I was told that the rear leak was probably coming from the drain hole in the rear of the engine being clogged. I took care of both of these issues and will start it up soon to see if the leaks are gone.
2/29
After a lot of searching, I was not willing to pay $1800 for a new honeycomb radiator core. Instead, I opted to purchase a modern core made to my size from General Radiator in Chicago.
The price was $300. Here is a look at the core.

I had the tanks sandblasted before I soldered it all together. After testing and fixing the leaks, I ended up with a servicable radiator. The correct radiator hose is a Gates 24036. I bought a three foot section and it was enough for the top and bottom hose.


3/13/16
I took the transmission off to replace the throw out bearing and have the clutch re-corked.
I had Ron Fellows (915-877-9025) do the clutch and the cost, with shipping, was about $175.
When you take the clutch assemble apart, you will notice a 1/32" gasket. This will need replacing when you re-assemble everything. Here are a few pictures of the throw out bearing along with how I removed the bearing from the carrier.


Here is the replacement number for the throw out bearing.

Some parts were pretty worn so I built up the metal on the yoke and carrier. Here are some before and after pics.


3/25/16
Today we tore down the transmission. I had two, so the best parts were used. I replaced the front bearing with a 6207.
The pilot bearing was also replaced. A new clutch disc and throwout bearing were also replaced. Here of some pictures. It took about five hours for me, my brother and his son to complete the job. As you can see, the inside of the transmission needed a lot of attention.


4/7/16
I solved the
driveshaft issue. It was bent, and the seals and U-joints were unrepairable.
Under the advice of the "Essex Experts" I found a modern solution.
I had an adapter made from 6160 Aircraft grade aluminum. It mates up
to the transmission flange on one side, and the other mates up to a late
model GM U-joint/driveshaft.


5/15/16
After the engine was up and running, the smoke coming from the crankcase didn't dicipate at all. I decided that I'll need to put new rings on it to improve the situation. I tried several sources and was able to get a head gasket for $50 from Lester Harris in Nevada. The rings took a long time to source out but I eventually bought them from Hastings. Here's the info:
Hastings Piston & Rings 1-800-776-1088
Top Ring #38351
Oil Ring #38316
6/5/16
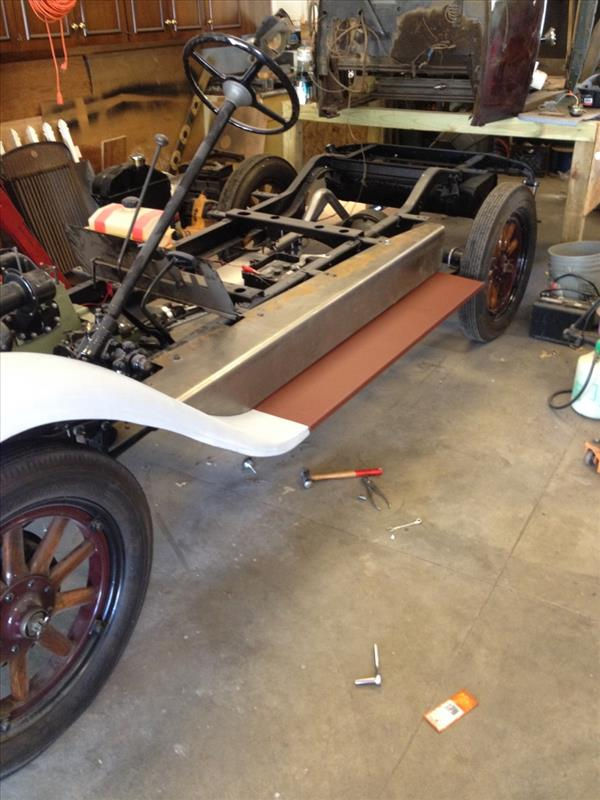
The condition of my running boards was terrible. Very rusted and unusable. The running bords are 2 piece. The bottom piece is a simple rectangle with a 90 degree bend. The apron, however, is a coplicated design. Since I watch and learn from the TV, I decided to find a waterjet copany that could cut my aprons using my original as a template. The left and right are just a mirror image so only 1 pattern was needed. Here are a few pics.


6/30/16
I've been making progress with painting the fenders and running boards. I decided on single stage so that it will look more period correct. Here is a picture of my grand-daughter and I sanding down the primer and then after polishing.

